
Here's the step by step process I do to make the banners in my army. It can be somewhat involved but if you're willing to take the time, it can be well worth it once you see the final results. Mounting the banner on your mini is not covered here... just making it.
Step 1
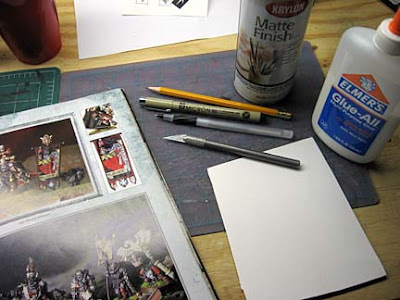
Collect all your supplies for the project.
Paints, brushes, pencil with a sharp point, regular ball point pen
Micron 005 drafting pen a similar quality drafting pen
Small piece of posterboard
X-acto blade or other suitable sharp modeling knife (use a new blade!)
Access to a photocopier
PVA (white glue)
Spray varnish (optional)
Reference material to draw from... remember, we are making our own banner here.
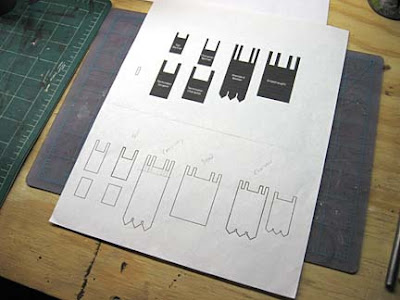
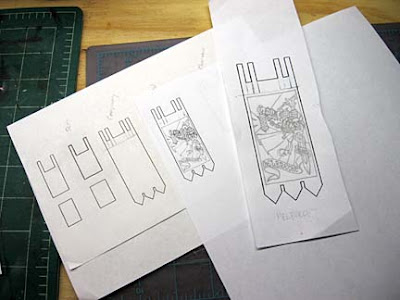
The image below can be copied. Save it to your desktop and print it out. Use the scale to adjust it to the right size and you'll have a handfull of banner outlines ready to go.

Step 2
Figure out the shape of your banner
You can find a template online, photocopy the shape of one out of the Space Marine Codex or draw your own (make sure you have a mini nearby for scale).
In this example, I'm doing a "Chapter sized" banner. Since I already have a template, it's no problem. If you draw your own or copy one from somewhere, make sure to add tabs at the top that can be folded over to hang the banner on it's banner pole. I usually make mine about 3/8 inch or 10mm long.
Step 3
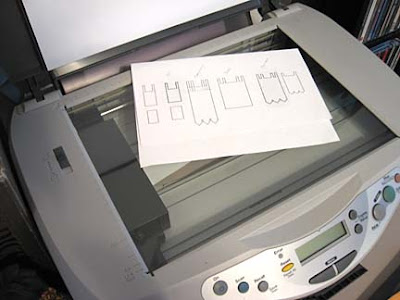
Enlarge the banner
Take your bnner outline over to the photocopier and enlarge it around 175 percent. You can go larger but I've found this to be a good size to work with. This enlarged copy of your banner outline is what you are actually going to draw your own banner image onto.
 Step 4
Gather your reference material and get drawing.
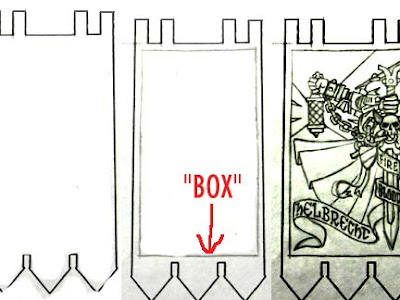
Before you start drawing your actual image, draw a "box" slightly smaller inside the outline of your enlarged banner. Inside the "box" will be your image area. I am drawing Helbrecht's personal banner with a few slight changes. You'll want to have a nice, clean drawing with no stray marks when you're all done with this step.
Step 5
Back to the copier, we want actual size now
Take your drawing back to the copier, now you want to reduce it back down to it's original size before it was enlarged. Depending on how much you enlarged it will determine how much you need to reduce it. Play with the proportions until you get it spot on. Sometimes I'll hold the two pieces of paper up together in front of a light to make sure the images are the same size.
Step 6
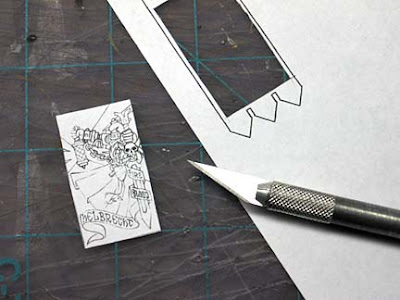
Cut it out and set it aside.
Once you have your drawing reduced down to your banner's original size, take your X-acto knife and cut out the "image area." Use the box you drew inside the banner outline as your guide. The end result should be your drawing, reduced to scale, that fits nicely into the correct sized banner outline. Set this cut out piece aside for now.
Step 7
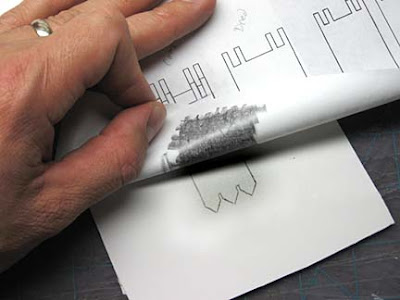
Make the actual banner.
Take your original banner outline from Step 2 and shade the back of it with pencil. Transfer this outline onto the small piece of posterboard. Go over the pencil lines with the ball point pen.

Step 8
Time to seal the banner.
Take the PVA (white glue) and apply a thin coat to the front of the banner. What you're trying to do here is seal the posterboard. DO NOT dillute the glue in any of these steps.
I use my finger to spread the glue around, you can use a brush if you want but the idea is to not leave any texture in the glue. You won't have long to work with the glue before it starts to dry and you start adding texture... so work quickly. You want a nice, smooth, even coat across the front of the banner.
LET THIS DRY COMPLETELY before going on.
If you miss a spot, don't worry, do NOT go back and try to spread the glue to cover it. It is far better to wait for the glue to dry and then go back and add a little more glue over the area that you missed.
Step 9
Time to seal the banner... again.
Repeat Step 8 on the back of the posterboard.
LET THIS DRY COMPLETELY before going on.
Do you see that letting it dry is important now?
Step 10
Putting it all together.
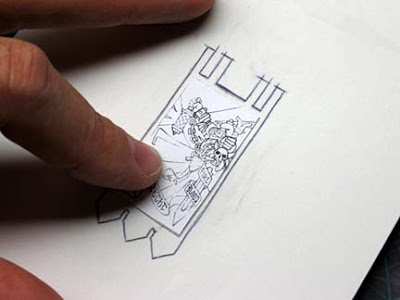
Grab your image you set aside in Step 6. Place it on top of your posterboard outline and make sure it fits properly.
Remove the image, apply a thin coat of white glue to the front of the banner and place your image back down on top of the banner. Working quicky, center the image in the outline and press it down, working from the center out to remove any trapped air and wrinkles.
LET THIS DRY COMPLETELY before going on.
Step 11
Protect the entire image.
Take the white glue and apply a thin coat to the front of the banner. What you're trying to do here is seal the entire piece and create a protective coating. Some glue is going to collect along the edges of the image area, this is not a problem, it will actually hide the fact that the image is glued onto the posterboard.
Step 12
Time to paint.
Paint your banner, it's a easy as painting between the lines.
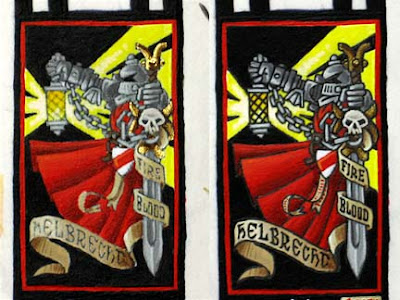
Since the overall piece is protected by a thin layer of glue, there's no need to worry about any adverse effects on the posterboard from washed or glazes. Once you're done painting (image on the left), go back over the lines with the Micron or drafting pen you have. This will clean up the drawing tremendously and give it a nice clean finish (image on the right).
Step 13
Cut it out and mount it.
Your banner should be done now. Carefully cut out the banner from the posterboard. Do yourself the favor and use a new, sharp blade... you don't want to tear your new masterpiece at this point because you were too lazy to simply change the blade.
Handle it carefully, mount it on your miniature using the tabs on the banner. You can use superglue to attach the tabs ( you did coat the back of the banner with white glue remember?) without any problems.
Finish painting the side edges and the back of your banner at this point now.
Give it a quick coat of varnish to help it stand up to the rigors of play (optional).
Proceed to the battlefield and kick your opponents around the table (this part not optional).
For some advanced tips, check out this follow-up post.
